
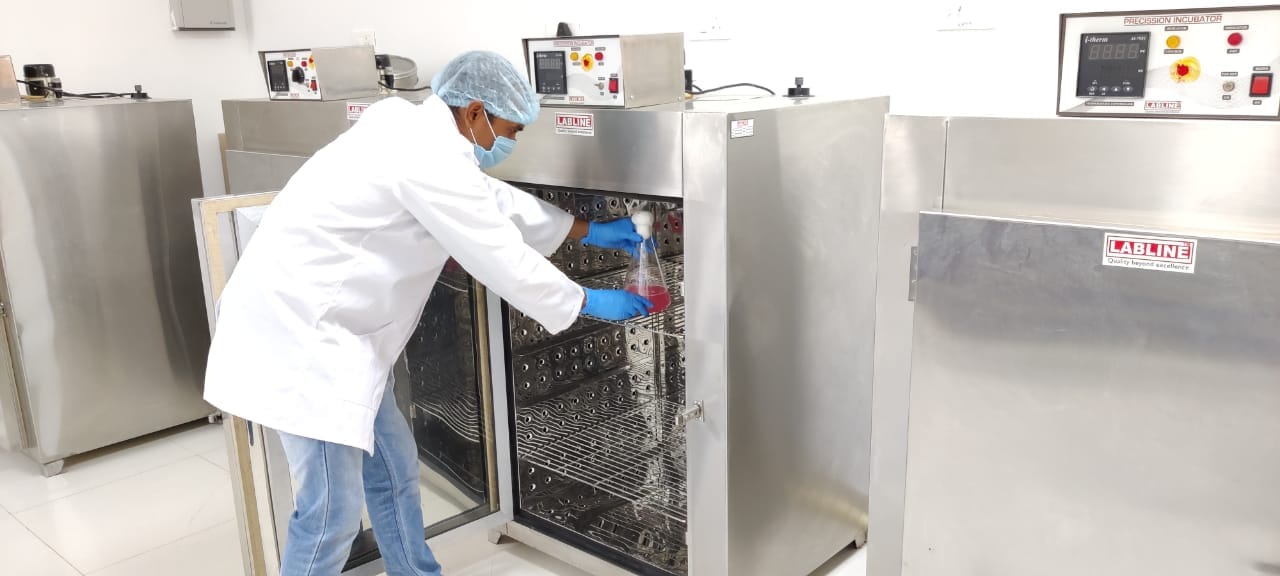
PROTOCOL GUIDELINES & R&D CELL

Protocol Guidelines & R&D Cell

Structured guideline areas for the crop cycle, and the work of our research team.

SECTION A

Protocol Guidelines

Select a guideline to view its details.

01

Pre Stock Management

Overview

Prepare the pond, water and seed before stocking shrimp or fish. A stable, measured pond environment is more important than rushing the stocking date.

Objectives

  • Establish a clean, well-aerated pond with suitable water quality.
  • Reduce avoidable stress when seed enters the pond.

Step-by-Step Procedure

  1. Review the previous crop record and inspect the pond bottom, embankments, screens, inlet and outlet; remove residual organic matter and repair leaks.
  2. Prepare and fill the pond using an appropriate, screened water source. Check aerators and backup power before stocking.
  3. Test water quality, including pH, temperature, salinity, dissolved oxygen, alkalinity, ammonia and nitrite; correct imbalances gradually with practitioner guidance.
  4. Confirm seed source, health documentation and batch condition; assess acclimation needs before release.
  5. Stock only when pond conditions are stable. Acclimate seed to the pond water and record date, batch, count and initial readings.

Recommended Parameters / Monitoring

  • For shrimp, use the brochure checklist as a reference: temperature 28–32°C, pH 7.5–8.5, dissolved oxygen >4 mg/L, salinity 5–25 PPT, alkalinity 100–180 mg/L, ammonia <0.05 mg/L and nitrite <1 mg/L. Interpret readings for the species, life stage and local water source.
  • Record morning and later-day readings where practical; check oxygen especially before dawn and after weather changes.

Precautions

  • Do not stock into low-oxygen water or after a sudden pH or salinity shift.
  • Pond-preparation products, stocking density and any treatment: As per farm condition and qualified aquaculture practitioner recommendation.

Important Notes

  • Keep a baseline record so later feed, survival and water-quality changes can be interpreted.
02

Plantation Management

Overview

Manage the pond’s natural plankton and plant growth as part of water preparation and ongoing water-quality control. The aim is a stable pond environment, not uncontrolled bloom growth.

Objectives

  • Support balanced pond productivity without sudden oxygen or pH swings.
  • Prevent dense surface growth and decay from increasing organic load.

Step-by-Step Procedure

  1. Check the incoming water and pond bottom before encouraging natural bloom development.
  2. Observe water colour and transparency, and record changes alongside pH and oxygen.
  3. Maintain aeration and remove excessive floating or decaying vegetation safely where relevant.
  4. If the water turns unusually dense or changes colour abruptly, increase monitoring and seek a qualified assessment before intervening.
  5. Review conditions after rain, heat or feed changes; adjust the management plan to measured pond response.

Recommended Parameters / Monitoring

  • The brochure lists shrimp pond transparency at approximately 30–40 cm; interpret this with water colour and farm conditions.
  • Check dissolved oxygen, pH (including day-to-day variation), temperature and ammonia; watch for sudden changes in colour, smell or animal behaviour.

Precautions

  • Do not intentionally crash a dense bloom; decaying biomass can consume oxygen.
  • Fertilizer, bloom control and other product choices: As per farm condition and qualified aquaculture practitioner recommendation.

Important Notes

  • “Plantation” here refers to management of pond plant/plankton growth; species-specific planting plans require a site assessment.
03

Blind Feed Chart

Overview

The supplied brochure includes an initial vannamei feed chart for 1 lakh (100,000) shrimp seed through day 30. Use it as a starting reference, not as a substitute for checking consumption and pond conditions.

Objectives

  • Plan an initial feed schedule and avoid unobserved overfeeding.
  • Adjust feeding to actual intake, growth and water quality.

Step-by-Step Procedure

  1. Record the stocking count and day of culture (DOC).
  2. Read the corresponding daily total from the brochure chart below for 1 lakh seed.
  3. Divide the daily ration across feeding times appropriate to the farm; observe feed-tray response and animal activity.
  4. Compare intake, feed remnants, growth and water-quality readings daily. Adjust the next ration with qualified guidance.
  5. Log feed offered, feeding response, weather and any change in appetite.

Vannamei feed reference — 1 lakh seed, days 1–30

Day 12.0 kg
Day 22.3 kg
Day 32.6 kg
Day 42.9 kg
Day 53.2 kg
Day 63.5 kg
Day 73.8 kg
Day 84.3 kg
Day 94.8 kg
Day 105.3 kg
Day 115.8 kg
Day 126.3 kg
Day 136.8 kg
Day 147.3 kg
Day 157.8 kg
Day 168.3 kg
Day 178.8 kg
Day 189.3 kg
Day 199.8 kg
Day 2010.3 kg
Day 2110.8 kg
Day 2211.3 kg
Day 2311.8 kg
Day 2412.3 kg
Day 2512.8 kg
Day 2613.3 kg
Day 2713.8 kg
Day 2814.3 kg
Day 2914.8 kg
Day 3015.3 kg

Recommended Parameters / Monitoring

  • Check feeding trays, gut fill, activity and uneaten feed; track biomass estimates as sampling becomes available.
  • Measure dissolved oxygen, ammonia and nitrite, especially if uneaten feed or organic load increases.

Precautions

  • The chart is for vannamei and 1 lakh seed, days 1–30 only; it is not a universal dose or a fixed ration for every pond.
  • Do not continue feeding blindly when oxygen drops, feeding response weakens or water quality deteriorates.

Important Notes

  • The brochure prints “Bind Feed”; this section uses the requested heading “Blind Feed Chart” while retaining its supplied day-by-day values.
  • For a different stocking count, life stage or feeding schedule: As per farm condition and qualified aquaculture practitioner recommendation.
04

Probiotic & Minerals

Overview

Use water/soil probiotics and mineral support as parts of a measured pond-management plan, not as replacements for aeration, feed management or testing.

Objectives

  • Support pond bottom and water management while monitoring organic load.
  • Review mineral availability in relation to salinity, moulting and the culture stage.

Step-by-Step Procedure

  1. Check water and pond-bottom conditions before selecting an intervention.
  2. Review mineral indicators and salinity; note moulting, feeding behaviour and any signs of stress.
  3. Choose products suited to the documented need and follow their label or the brochure’s product application instructions.
  4. Prepare and apply products at their specified method and time; keep aeration operating as recommended.
  5. Record the product, batch, dose, time and pond response; recheck the relevant parameters.

Recommended Parameters / Monitoring

  • The brochure’s shrimp reference includes calcium 300–500 mg/L, magnesium 800–1,200 mg/L, potassium 10–20 mg/L and total hardness approximately 1,000–1,500 mg/L.
  • Monitor oxygen, pH, ammonia, nitrite, bottom condition and feeding response alongside mineral readings.

Precautions

  • Do not combine products or increase dose without checking compatibility and pond conditions.
  • Product selection, sequence and any dose not specified for the situation: As per farm condition and qualified aquaculture practitioner recommendation.

Important Notes

  • The supplied product application table includes Bacilzyme Pro (water/soil probiotic) and Strive Min (mineral/nutritional support); use their product guidance for specific applications.
05

EHP Treatment

Overview

EHP (Enterocytozoon hepatopenaei) is a shrimp microsporidian associated with poor growth and size variation. This is a surveillance and farm-management pathway, not a claim that any product cures EHP.

Objectives

  • Identify suspected growth problems early and confirm the cause.
  • Limit movement of potentially contaminated material between ponds.

Step-by-Step Procedure

  1. Flag slow growth, uneven size or reduced performance in routine sampling; review feed and water-quality records.
  2. Request diagnostic sampling through a qualified laboratory or aquatic-health practitioner; do not diagnose EHP from appearance alone.
  3. Review seed source, pond history, shared equipment and movement between ponds with the practitioner.
  4. Strengthen hygiene for nets, tools and personnel moving between ponds; manage waste and sludge without transferring it to clean ponds.
  5. Use confirmed findings to plan the rest of the crop and the next pond-preparation cycle.

Recommended Parameters / Monitoring

  • Track size distribution, sampled growth, feeding response, survival and water quality over time.
  • Interpret laboratory results with sampling history and clinical observations.

Precautions

  • No EHP cure, chemical regime or dose is established by the supplied material. Treatment decisions: As per farm condition and qualified aquaculture practitioner recommendation.
  • Avoid moving suspected stock, untreated pond water or shared equipment to unaffected ponds.

Important Notes

  • A positive test does not replace a farm-specific assessment; prevention and biosecurity remain central.
06

Microcystis Management

Overview

Microcystis is a bloom-forming cyanobacterium. Dense or collapsing blooms may threaten water quality and oxygen availability; identification and response require careful monitoring.

Objectives

  • Detect unusual bloom development before it disrupts pond conditions.
  • Avoid a sudden bloom collapse and related oxygen stress.

Step-by-Step Procedure

  1. Observe colour, surface scum and transparency at different times of day; record when changes first appear.
  2. Measure dissolved oxygen, pH and temperature, including early morning readings; assess animal behaviour.
  3. Request identification of the bloom where possible rather than treating colour alone as proof of Microcystis.
  4. Maintain aeration and review feeding and organic load while a practitioner assesses the pond.
  5. If action is recommended, implement gradually and monitor oxygen, pH and animal response closely afterward.

Recommended Parameters / Monitoring

  • Use the brochure shrimp reference of approximately 30–40 cm transparency together with oxygen >4 mg/L and pH 7.5–8.5; trends matter as much as single readings.
  • Look for surface accumulations, odour, abrupt water-colour changes and animals gathering near aerators.

Precautions

  • Do not apply an unverified algicide or attempt to crash the bloom abruptly; decomposition can rapidly lower oxygen.
  • Identification, chemical use and quantity: As per farm condition and qualified aquaculture practitioner recommendation.

Important Notes

  • Discoloured water can have multiple causes; confirm the likely cause before choosing a response.
07

WSSV Treatment

Overview

White spot syndrome virus (WSSV) is a serious shrimp disease risk. This guideline focuses on prompt escalation, confirmation and biosecurity; it does not present a cure.

Objectives

  • Recognize a suspected event promptly and obtain laboratory confirmation.
  • Reduce the risk of spread to other ponds and farms.

Step-by-Step Procedure

  1. On sudden mortality, reduced feeding or unusual behaviour, inspect the pond promptly and document the timeline.
  2. Contact a qualified aquatic-health practitioner and arrange appropriate diagnostic sampling; visible white spots alone are not definitive.
  3. Restrict transfers of shrimp, water, equipment and staff between affected and unaffected ponds pending advice.
  4. Maintain safe aeration and continue monitoring pond conditions; collect and dispose of mortalities according to local requirements.
  5. Follow the practitioner’s containment, reporting and crop-management instructions, then review seed sourcing and biosecurity before restocking.

Recommended Parameters / Monitoring

  • Record daily mortality, feed response, animal behaviour, dissolved oxygen, pH and temperature.
  • Use lab results and the pond history to distinguish WSSV from other causes of mortality.

Precautions

  • No antiviral treatment or product cure is provided in the source material. Any response or treatment: As per farm condition and qualified aquaculture practitioner recommendation.
  • Do not release untreated water or dispose of affected animals in a way that could spread disease.

Important Notes

  • Follow applicable local aquatic-animal health and reporting requirements.
08

White Fecal Management

Overview

White fecal signs in shrimp ponds can occur with multiple gut, feed, environmental or infectious factors. Management starts with observation and diagnosis, not an assumed single cause.

Objectives

  • Document the extent of white fecal signs and any change in feeding or growth.
  • Address contributing pond and feeding conditions with professional guidance.

Step-by-Step Procedure

  1. Observe floating fecal strings, feeding trays, gut fill, activity and mortality; note when signs began.
  2. Check feed quality, storage and recent changes to ration or ingredients.
  3. Measure oxygen, pH, ammonia, nitrite and bottom condition; examine accumulated waste and aeration.
  4. Consult a qualified practitioner about sampling and interpretation before selecting an intervention.
  5. Reassess feed response and water quality after any recommended management change; record results.

Recommended Parameters / Monitoring

  • Follow gut fill, feed-tray consumption, growth, mortality and visible fecal signs.
  • Use the brochure shrimp checklist for oxygen >4 mg/L, ammonia <0.05 mg/L and nitrite <1 mg/L as reference points.

Precautions

  • Do not assume white fecal signs prove a particular pathogen or require a particular product.
  • Feed changes, gut-support products and any treatment quantity: As per farm condition and qualified aquaculture practitioner recommendation.

Important Notes

  • The brochure lists Herbal Strong for WGD/WFD and gut-health support; this is not a diagnosis or cure claim.
09

Pre-Harvesting Management

Overview

Prepare for harvest by coordinating pond conditions, animal checks, buyer requirements and handling arrangements before the harvest begins.

Objectives

  • Reduce avoidable harvest stress and preserve product quality.
  • Ensure the harvest plan and records meet buyer and applicable local requirements.

Step-by-Step Procedure

  1. Confirm harvest timing with the buyer or farm team; review sample size, condition and expected quantity.
  2. Check dissolved oxygen, water quality, weather and aeration capacity before any water drawdown or handling.
  3. Review feed and product-use records for any applicable withdrawal periods or buyer requirements.
  4. Prepare clean harvest equipment, transport, chilling capacity and personnel; plan the sequence to minimize handling time.
  5. Record the harvest date, pond, quantity and relevant observations; manage discharge and pond clean-out responsibly.

Recommended Parameters / Monitoring

  • Watch oxygen and animal behaviour closely before and during harvest, particularly if pond volume changes.
  • Track size distribution, mortality and handling time; keep product-use and harvest records together.

Precautions

  • Do not apply products immediately before harvest without checking label directions, withdrawal rules and buyer specifications.
  • Any harvest-time product use, quantity or handling intervention: As per farm condition and qualified aquaculture practitioner recommendation.

Important Notes

  • Harvest logistics, food-safety requirements and discharge rules vary by location and buyer.

Protocols should be followed under qualified aquaculture practitioner guidance.

SECTION B

R&D CELL

R&D Cell information and research updates will be added here.
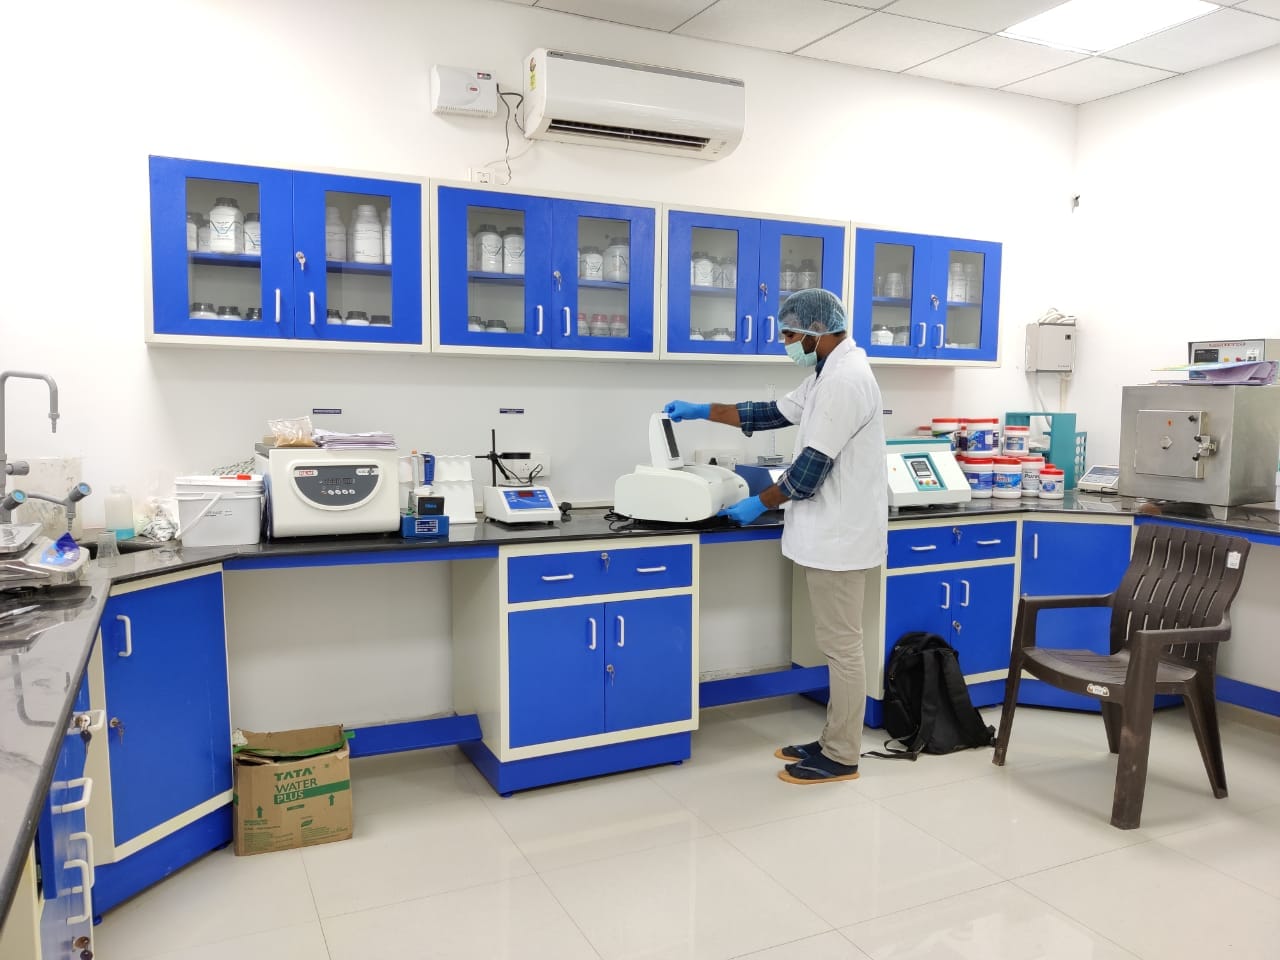
Research & Development at the Strive Aqua R&D centre

Research & Development

R&D Cell information and research updates will be added here.
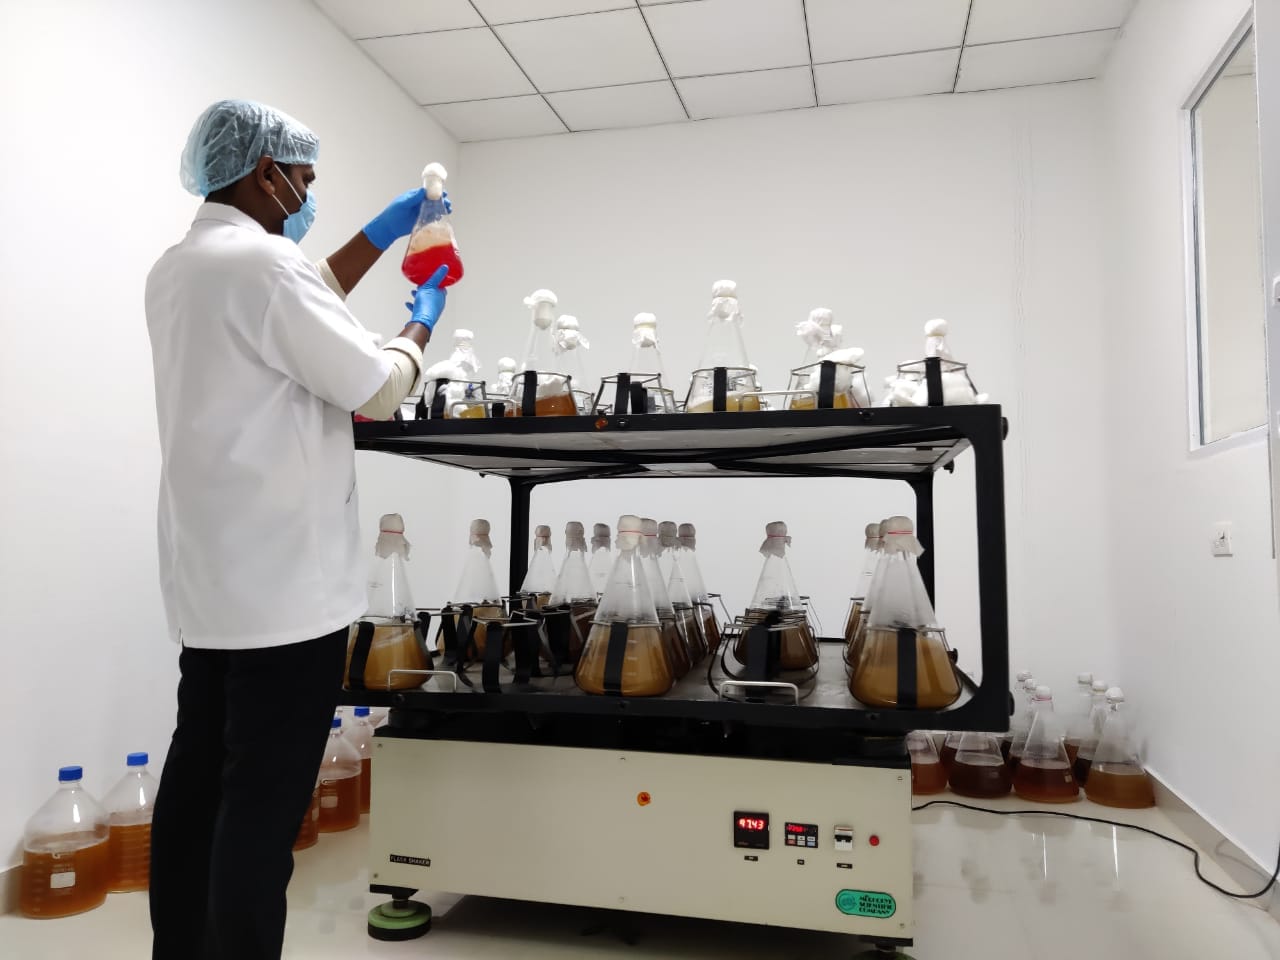
Research Activities at the Strive Aqua R&D centre

Research Activities

R&D Cell information and research updates will be added here.
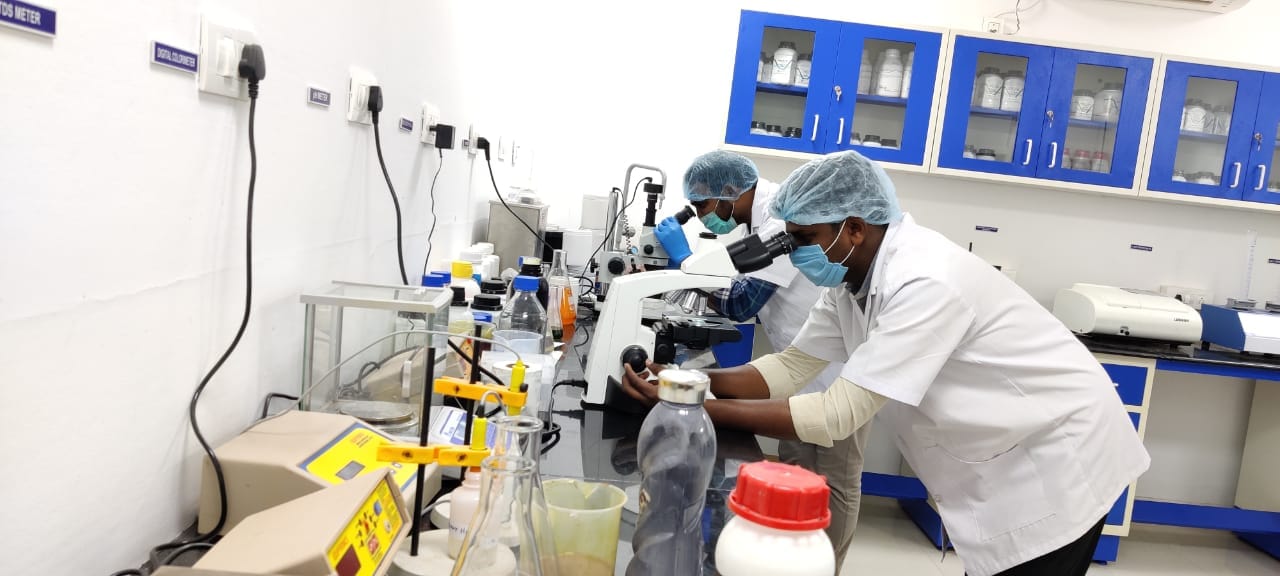
Field Research at the Strive Aqua R&D centre

Field Research

R&D Cell information and research updates will be added here.
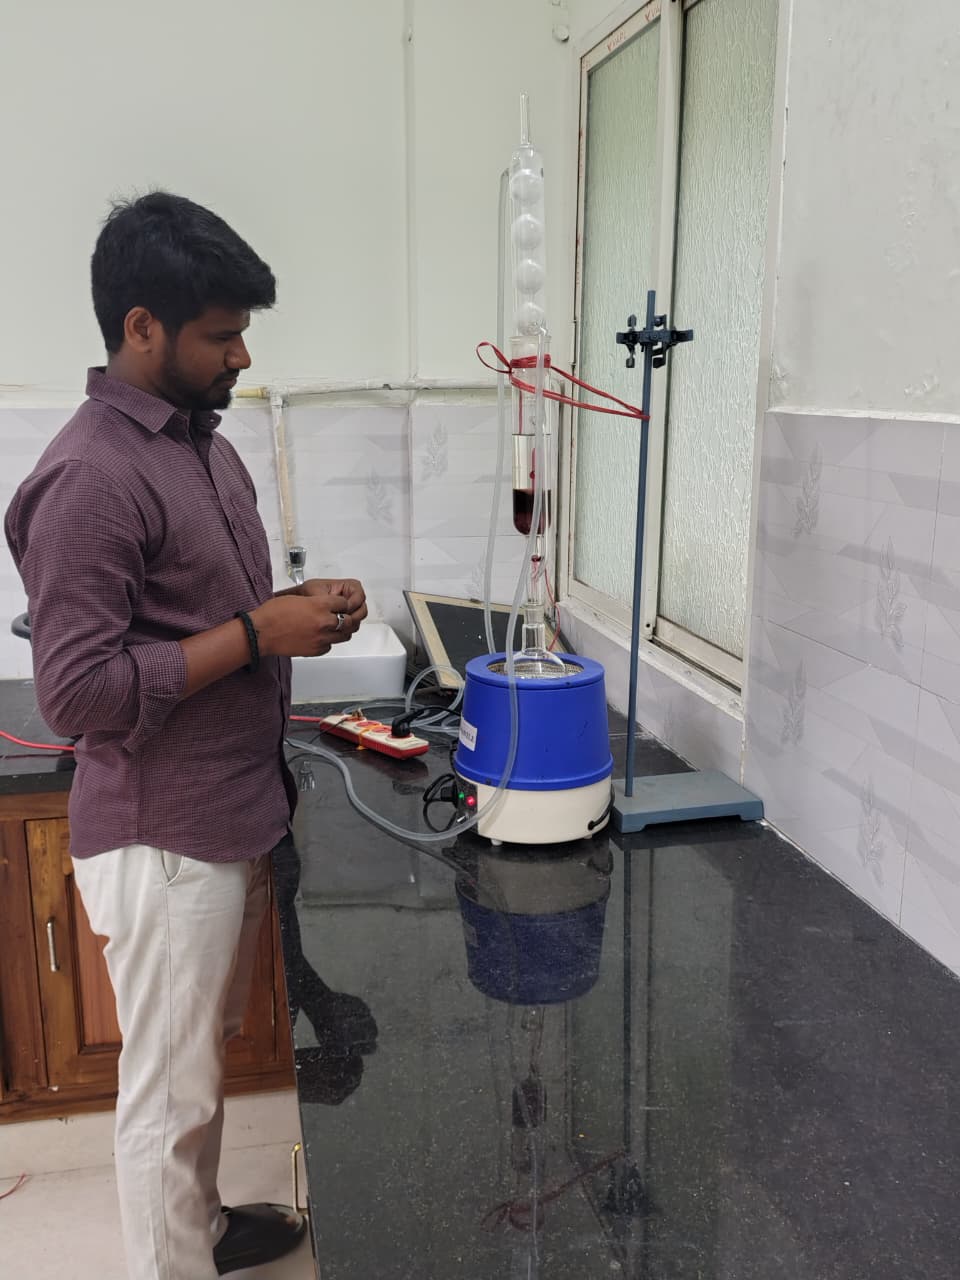
Product Development at the Strive Aqua R&D centre

Product Development

R&D Cell information and research updates will be added here.
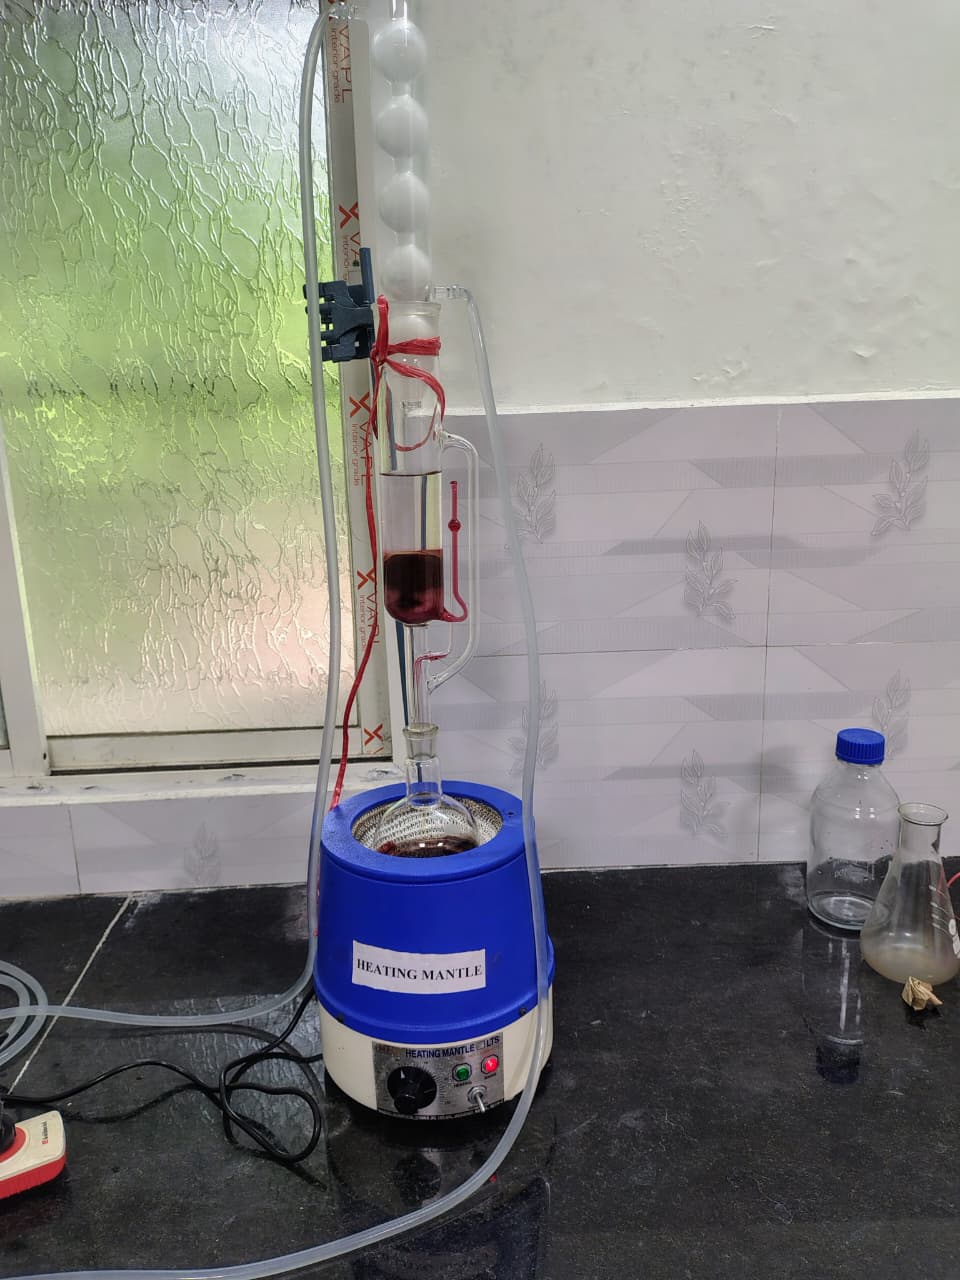
Innovation at the Strive Aqua R&D centre

Innovation

R&D Cell information and research updates will be added here.

Research Updates at the Strive Aqua R&D centre

Research Updates

R&D Cell information and research updates will be added here.

LET'S GROW TOGETHER

Your Pond. Our Expertise.

Let's build healthier and more productive aquaculture together.